How to Install a Shower Drain
Installing a shower drain (also called a shower trap) is a crucial part of building or renovating...

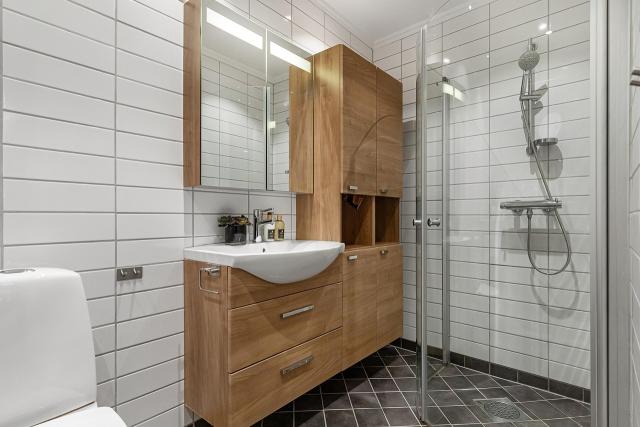
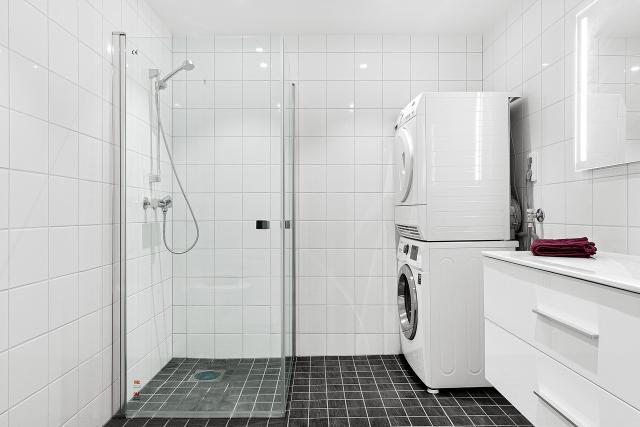
Modern walk-in showers are increasingly built without bulky trays or bases. Instead, they use a sleek and efficient floor drain system known as a shower trap. Not only does this design look more elegant and minimalist, but it also offers better drainage and easier cleaning.
In this comprehensive guide, we’ll walk you through everything you need to know about installing a shower trap under tile—yourself. No need to hire a contractor if you're comfortable with home improvement projects.
Before we dive into the installation steps, it’s important to understand what a shower trap is and how it functions.
A shower trap is a floor drainage system that collects and redirects water from your shower area into the main drain line. It replaces traditional shower pans and can be installed flush with the floor for a more seamless look.
Drain body (housing): Typically made of durable plastic (ABS) or stainless steel, this connects to the home’s plumbing system.
Grate or cover: The visible part of the trap, designed in various finishes to match your bathroom style.
Water or dry seal: A component that prevents sewer odors from coming back up through the drain.
Drain pipe connection: Links the trap to your home’s wastewater system.
Adjustable feet or brackets: Allow you to level and secure the trap in position during installation.
Before starting your DIY installation, choosing the right model for your bathroom layout is essential. Here’s what to look for:
There are two main configurations:
Linear (channel) drains – Long and narrow, installed along a wall or the edge of the shower. Great for modern aesthetics and effective water drainage.
Point drains – Compact square or round drains, typically located in the center of the shower area.
Stainless Steel – Long-lasting, corrosion-resistant, and perfect for high-end showers.
Plastic (ABS) – Cost-effective and suitable for most standard shower installations.
Check how many gallons per minute (GPM) the drain can handle. Choose based on your shower system's water output.
Ensure the trap fits within your floor structure and leaves space for tile and waterproofing layers.
Since the grate will be visible, choose a finish and pattern that matches your bathroom décor—chrome, matte black, brushed nickel, etc.
Here’s a checklist of everything required before you start:
Chosen shower trap model
PVC drain pipes (typically 1.5” or 2” diameter)
Pipe glue or silicone sealant
Cement or floor screed mix
Waterproofing membrane or liquid sealant
Tile adhesive and tiles
Level, utility knife, trowel, screwdriver, mixing bucket
Optional: angle grinder or tile cutter
Pick the lowest spot on your bathroom floor so water naturally flows toward the drain. If you're using a linear drain, install it parallel to a wall. For point drains, the center of the shower is ideal.
Also, consider the location of the existing plumbing. The shorter the pipe run to the main drain stack, the better.
Clear the area and expose the subfloor. If you're renovating, remove old tiles, mortar, and any debris.
Dry-fit your shower trap and pipes to make sure everything aligns properly. Use a level to verify the correct slope—typically a 2–3% pitch (about 1/4 inch per foot) toward the trap.
Now, connect the different components of the trap:
Attach the seal (wet or dry) to the trap body.
Connect the trap body to the drain pipe using solvent cement or silicone.
Test the connections for tightness and leaks.
Install the pipe from the trap to your main drain or branch line:
Maintain the proper slope to ensure efficient drainage.
Secure all connections tightly and seal with plumber’s tape or silicone.
Once connected, place the trap securely on the subfloor. If your model includes leveling feet or brackets, adjust them now to get the perfect height and slope.
With the trap in place:
Clean the floor area thoroughly.
Apply a bonding primer or adhesive to improve grip.
Pour the floor screed mix, maintaining a gentle slope toward the trap.
Use leveling guides (or screed rails) to ensure a consistent angle across the entire shower floor.
Let it dry fully—this could take anywhere from 12 to 48 hours, depending on the mix.
Waterproofing is essential to protect your home’s structure from leaks and moisture damage.
Apply a waterproof membrane or liquid waterproofing across the shower area and up the walls at least 4–6 inches.
Seal all corners and seams using waterproof tape or additional sealant.
Pay special attention to the area around the trap—ensure no gaps are left unsealed.
Allow the waterproofing to cure according to the manufacturer’s instructions—usually 24 hours.
Now it’s time to finish the job:
Tile the shower floor using adhesive mortar. Cut the tiles to fit around the trap and maintain a smooth slope toward it.
Let the adhesive set, then fill grout between the tiles.
Install the decorative grate over the trap. Most models snap or screw into place.
Do a leak test: Pour water to ensure everything drains correctly and that there are no leaks around the trap.
Absolutely! Installing a shower trap yourself is achievable if you have basic plumbing and tiling experience. It’s a cost-effective way to upgrade your bathroom to a modern, walk-in design.
Just remember:
Always waterproof properly.
Ensure the drain slope is correct.
Use high-quality materials to prevent future issues.
Whether you're renovating a master bath or building a new walk-in shower, a properly installed shower trap can give you years of comfort and reliability.

Thanks for joining our homeowners’ community.
Stay tuned!
Choose the category
Choose the category