How to Install a Shower Floor Drain (Shower Trap)
Modern walk-in showers are increasingly built without bulky trays or bases. Instead, they use a s...

Creating a bathroom that’s both stylish and functional doesn’t require a massive budget or complicated design plans. With the right choices and a little planning, anyone can design a dream bathroom that feels luxurious, modern, and relaxing. These seven easy steps will help you avoid common mistakes and ensure your bathroom is cohesive, clean, and beautiful.
Let’s start with the basics: tile selection.
In my experience, less is more when it comes to bathroom tiles. To keep things cohesive and stylish, limit yourself to no more than three different tile collections for your bathroom.
Here’s how it can work:
Use two types of tile for the walls—perhaps one neutral and one accent.
Use a third collection for the floor, ideally one that complements the wall tiles.
For example, in my own bathroom, I used:
A plain white tile,
A marble-look tile,
And a marble mosaic.
For the floor, I repeated the marble tile from the wall for visual consistency. This 3-tile rule applies to any style—modern, classic, rustic. Overdoing it with tile types (four or more, plus paint!) results in a chaotic look that feels more like a design experiment gone wrong than a dream bathroom.
Tile size matters—especially in modern American bathrooms.
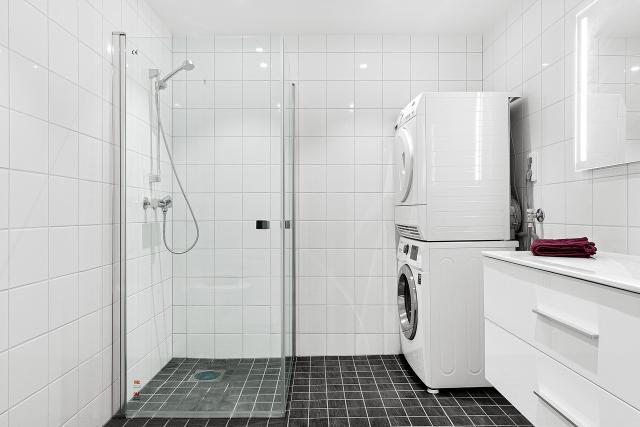
For a sleek, trendy space, larger tiles are better. Big formats (like 24"x48" or even 5'x10') reduce grout lines, making your bathroom feel bigger and cleaner. This is perfect for minimalist or contemporary designs.
However, if you're aiming for a vintage, cottagecore, or farmhouse look, then smaller tiles with repeat patterns, floral prints, or geometric motifs are better. These styles thrive on repetition and detail, and large tiles would look out of place.
So:
Modern? Go big.
Rustic or vintage? Stick with small, decorative tiles.
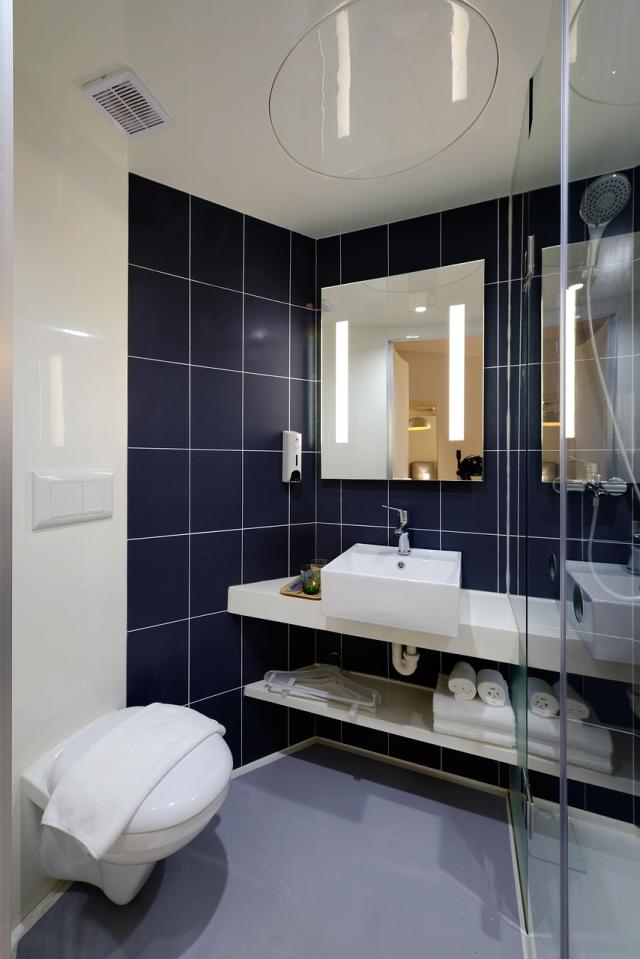
Trends come and go, but plumbing fixtures are expensive to replace. That’s why I always recommend classic white sanitaryware—sinks, bathtubs, and toilets.
Yes, colored fixtures (black, gold, navy, or even green) are all the rage right now. But:
They show every water stain and mineral deposit.
They go out of style quickly.
Replacing them is costly.
White fixtures, on the other hand:
Always look clean and fresh.
Work with any color scheme.
Never go out of style.
So if you're aiming for low-maintenance beauty, go white.
Your vanity and storage elements (like wall shelves, tall cabinets, and toilet-top units) should look like they came from one cohesive collection.
Why? Because coordinated furniture makes your bathroom look polished—like a designer did it for you.
Depending on your interior style, here’s how you can approach it:
Minimalist/modern: sleek, handle-less cabinets.
Farmhouse/vintage: shuttered doors or distressed finishes.
Industrial: wood-grain textures with visible knots or black accents.
Transitional/classic: framed panel doors with a timeless design.
The key is consistency. Choose one finish, one color, and carry it throughout your bathroom’s furniture.
Your mirror is where you can get creative and bold.
Don’t be afraid to make your bathroom mirror an accent piece—a standout feature that brings character into the room. Try:
A mirror in a bold gold or black frame.
Ornate, carved wood or metal edges.
A round, backlit LED mirror for a sleek touch.
But remember: even if it’s unique, it should still tie into the rest of the design. For example:
If you have a gold light fixture, your mirror frame could match in gold.
If your faucets are matte black, a black-framed mirror adds cohesion.
Lighting matters too! Illuminate the mirror with:
Hanging pendant lights.
Side sconces.
Built-in LED lights.
Great mirror lighting enhances both functionality and ambiance.
A bathroom without a statement light fixture is a missed opportunity.
These days, the bathroom isn’t just a utility space—it’s a retreat. That’s why a stylish ceiling light (even a small chandelier or pendant) can elevate the look and feel.
Consider:
A sleek glass globe pendant.
A mini chandelier with crystal or gold.
A flush-mount with industrial vibes.
Match your light fixture’s material (gold, black metal, white enamel, etc.) to other elements in the room for a designer look.
Avoid relying solely on recessed spotlights. A ceiling light adds warmth, dimension, and style.
One of the newest trends in bathroom design is treating the bathroom like a living space—and that includes hanging art.
You don’t need to go crazy with décor, but one or two art prints or posters can:
Soften the room.
Add color.
Reflect your personality.
Great spots for wall art:
Above the toilet.
On a blank wall opposite the vanity.
Even above a freestanding tub (if there's no shower splashing it).
Choose moisture-resistant frames or mount them in areas not exposed to direct water.
If you found these tips helpful, I created a free downloadable guide called Design and Renovate Your Dream Bathroom. It goes into more detail about layout planning, fixture choices, tile pairings, and common mistakes to avoid.
You can get it from my Telegram bot (link will be below this article if posted on a website or video platform). It’s user-friendly and perfect for homeowners planning a remodel.
Designing your dream bathroom doesn’t have to be overwhelming. By following these 7 simple steps—focusing on cohesion, timeless elements, and just the right accents—you’ll create a space that’s not only beautiful but deeply personal and relaxing.

Thanks for joining our homeowners’ community.
Stay tuned!
Choose the category
Choose the category